I grew up on a small farm in Kentucky, complete with lots of animals and always a huge garden. My parents were even finalists in a gardening contest put on by Kentucky Educational Television in the 1985. So I suppose it is in my blood.

Me, Dad, Jamie and Carrie, 1982
When we bought our house last year, I had high hopes for continuing my garden adventures. We first looked at the house in the winter, and without leaves on the trees, there seemed to be plenty of sunny spots. As spring progressed into summer, though, I realized that the possibilities for vegetable gardening were actually very limited. The property was beautifully landscaped, nestled in the woods, but so many beautiful trees blocked out the critical sun! Also, we had been warned that deer were frequent guests.
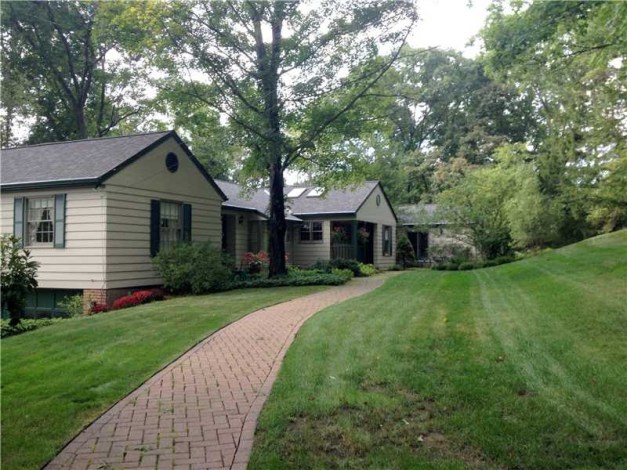
Front of the house with a huge maple tree that was damaging the foundation.
Of course, I can be stubborn when it comes to getting what I want. It turned out that a couple of trees–including the huge maple near the front door–were too close to the house. The foundation was bowing and cracking (scary!). We had them removed and the foundation repaired as part of the purchase. And a newly-sunny spot was born!
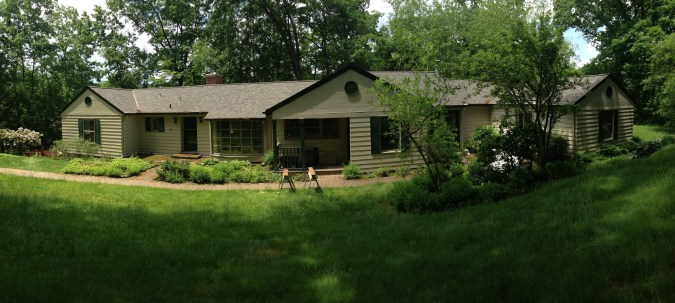
A bit of sunshine without the tree!
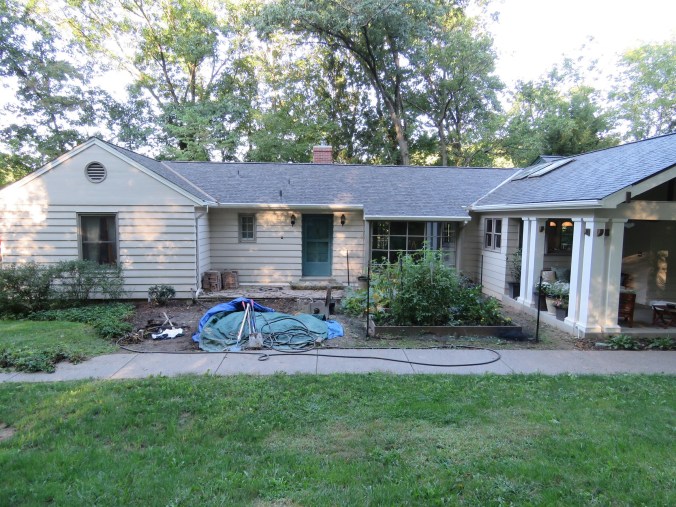
We also decided to build a new Craftsman-style front porch, and move the front door so that it opens to the main living area of the house rather than what was then the kids’ play room. This meant that the brick paver sidewalk had to be moved or replaced, enlarging the new sunny spot further.

New expanded porch and sidewalk completed.
Now I faced the questions of 1) Does is actually get enough sun to grow a garden? and 2) How do I make a vegetable garden in the front yard look nice? I watched the area at different times of day and saw that it got about 6-7 hours of sunshine in the summer. The next step was to clear out the existing landscaping and build some garden beds. I am a huge fan of raised beds, but I didn’t want to spend a lot of money on cedar if the garden wasn’t going to grow. Pressure-treated lumber is full of chemicals that can leach into the soil, so I decided to use regular fir 2 x 10’s from Home Depot. They which won’t last as long, but were a bargain. I painted the outside and top edges to match the trim on the porch.
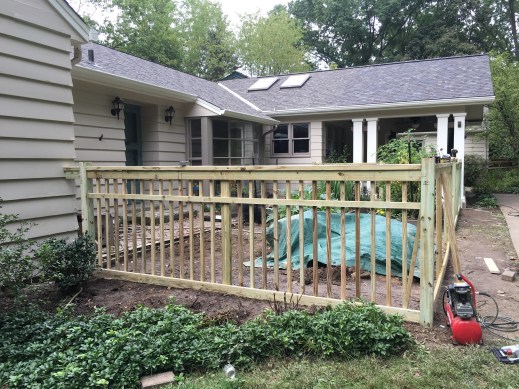
Test garden beds, installed with a future fence in mind.
I planted some tomatoes, herbs, peppers and zucchini, and they grew quite nicely! Maybe not as large and plentiful as a true full-sun garden, but well enough for my purposes. I added a temporary mesh fence to keep the deer from nibbling, and added some marigolds to dress it up a bit. Never mind the giant pile of dirt under the hideous tarp sitting next to them for months!
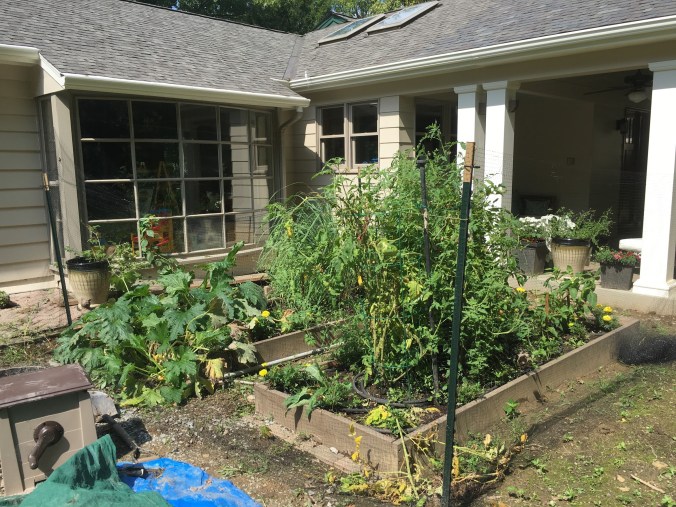
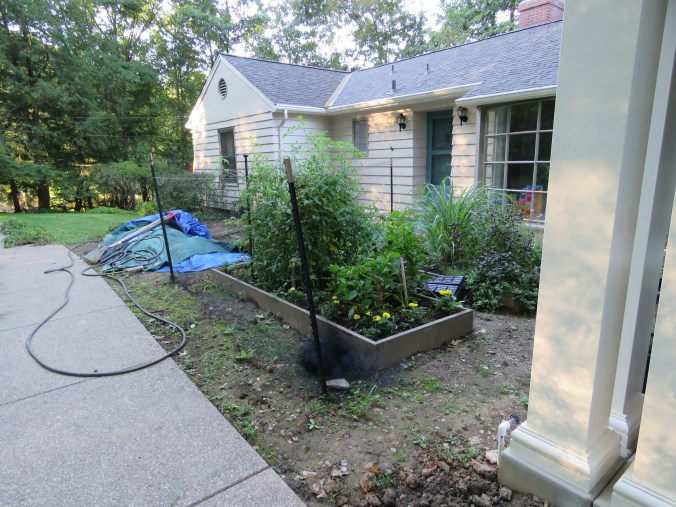
“Test” garden beds with plastic mesh temporary fencing.
The next problem was designing a fence befitting the front yard, sitting next to our beautiful new porch. I didn’t want pointy pickets next to the porch, and I wanted to continue the Craftsman theme. Pre-fab fencing wasn’t going to work. It needed to be 4′ tall, let plenty of light through, keep animals out, and be pretty. I scoured Pinterest for ideas:


Now, I’m aware that deer can jump higher than 4′. The fact that the enclosure is small, right up next to the house, and not on their usual path through the yard seemed to help keep them out over the summer. I can add the nearly-invisible netting above the fence if necessary in the future.
The next crucial element I needed: my very handy, very strong brother. (Yes, the adorable 3-year-old in the top photo). He has a very busy job when the weather is good, so I had to be patient, but finally at the end of the summer, he was able to come help me (read: do most of the work). We settled on a design close to the first one above, measured and sketched everything carefully, made a materials list, and got to work.
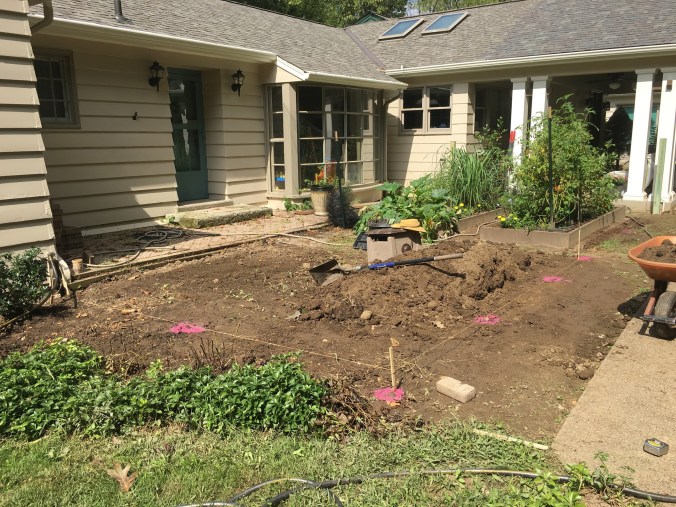
Step one: Marking out locations of posts, keeping the span of each section to less than 8 feet. We used stakes and string to make sure our lines were straight, then marked the post positions in spray paint. I also established ahead of time the location of underground utilities (Call Before You Dig), and got a building permit from my local borough office.
Step 2: Dig holes that are about 2′ deep with a post-hole digger and/or digging bar. The fact that the fence row was going where the old paver sidewalk was made this difficult–lots of tightly-packed gravel. Jamie to the rescue!
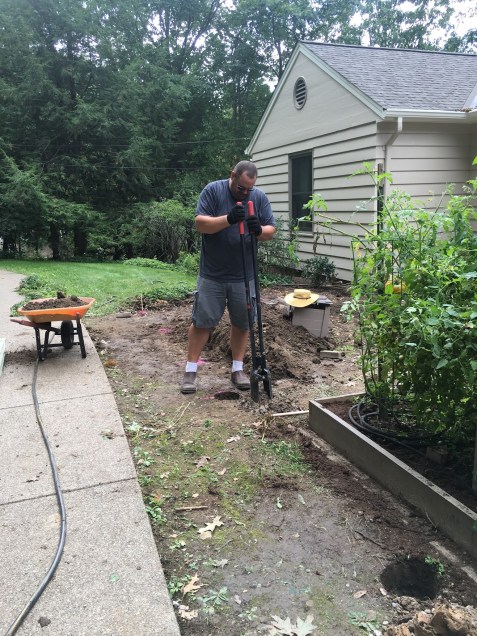
Workin’ hard for his money.
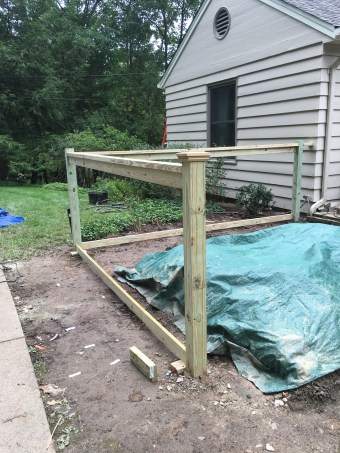
Step 3: Place the corner posts, level them, and add 1/2 a bag of concrete to each hole. Carefully tamp down, re-leveling the posts as you go, and top with water to start the hardening of the concrete. A taut string running between the corner posts allowed us to square up the posts in between. For the gate posts, we used slightly more concrete to account for the extra force of the swinging gate.


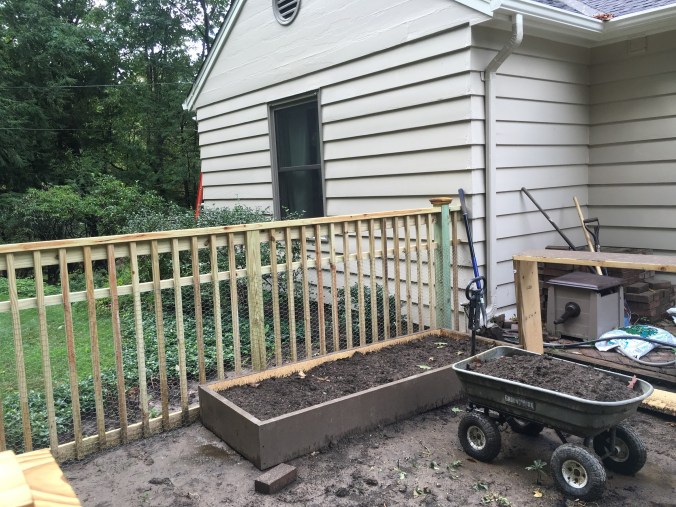
Step 4: After setting overnight, we were ready start installing the top and bottom rails. First, the posts were all leveled using a circular saw. A string level is very handy for this. Then we could measure, mark and install the 2 x 4 top rail. This was done with angled screws on the bottom side of the rail.


Just below that came another rail, with an identical bottom rail. We opted for a 5/4″ piece of decking for the rails, which was ripped down to 3 1/2″ inches wide on the table saw. Why? The design we were mimicking used 1 x 4’s, which weren’t available in the lengths we needed. So, we kind of made our own. These were also installed with angled screws from the back side.
Step 5: Install the pickets. We used 2 x 2 lumber cut to size and attached with galvanized nails from a nail gun. Starting at the center of a section, level and install the first picket. Then, use blocks at the top and bottom to install the rest of the pickets with perfect spacing. You can fudge the last 1-2 pickets at the post if needed to get the look you want.
Unfortunately, the root system of the old maple tree was still present underground, which made digging impossible in one spot (short of dynamite or major heavy equipment), AND we ran into a sprinkler line in another spot. So, we cheated a bit on the posts. In those places, we used a 2 x 4 that is sitting on the packed soil rather than a real 4×4 post. Both places are in the middle between two cemented posts. They may sag in the future, but the fence is still quite sturdy.
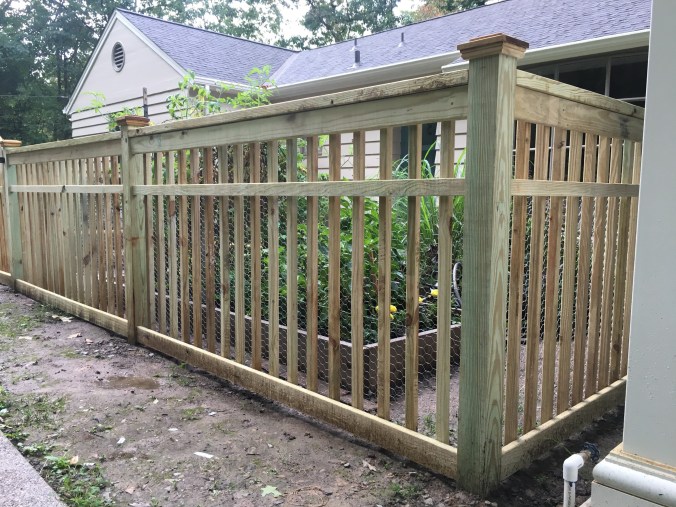
Step 6: Install decorative details. We used another ripped-down piece of 5/4″ decking for the trim piece, and nailed it to the front of the pickets. We also added pre-fab decorative post caps.
End section complete, with a fake post in the center.

Step 7: Build the gate. I like the look of arched garden gates, bringing some whimsy and charm to the design. We opted for 2 x 4 sides and bottom rail for stability and a central rail of the same size as the decorative trim on the fence. For the rounded gate top, we used a piece if 2 x 12 lumber. Playing around with a string attached to a point below the center of the gate (like a giant compass in geometry class), I determined the length of string needed to make the proper-sized arch. This was drawn onto the 2 x 12, and then a second arch was drawn 3 1/2 inches below the top line. We then cut this out with a jig saw.


Once the frame for the gate was assembled we added pickets to the back side to mimic the look of the fence (the spacing is slightly wider). These pickets were cut at 45 degrees at the top for a more finished look. Everything was attached with galvanized screws. We then added two blocks on the back side of the gate to attach a wire stabilizer. This will keep the gate from sagging over time. Finally, the gate was installed.


Step 8: Attach metal poultry netting (a.k.a. chicken wire) to the back side using staples and a staple gun. This will hopefully prevent bunnies, baby ground hogs and any other veggie-munchers from getting in. I used a 3′ wide roll of netting, and allowed the poultry netting to hang down slightly lower than the bottom of the fence. I will pin this down with landscape pins if needed.
In about 6 months, I can stain or paint the fence. Pressure-treated lumber is rot resistant but requires some “aging” before it can be finished. This is good, because now I have plenty of time to decide!
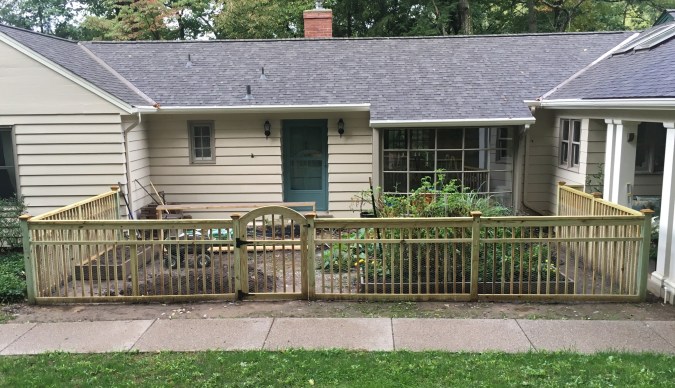
Completed garden fence.
Up next: installing and enlarging more raised beds, adding berry bushes, painting and installing rain barrels and a bench, mulching, installing landscaping outside the fence, and on, and on! 😀


